

Here is an overview of the process for adding a product to the Open Food Facts database. Most of the fields to fill in are pretty much self-explanatory, however I will explain into details each of the fields available on the web interface in future posts.
Step 1: Make sure you are logged in
Using the app while logged in will allow you to easily track the products you added or edited on OpenFoodFacts.org website.
Scan three, or more, pictures with your phone

Step 2: Look for ‘your’ product
On xx.openfoodfacts.org, where xx is a country code such as uk, fr, cn, de, ch-fr,… , or ‘world’, click on the ‘Products you added that need to be completed’ link
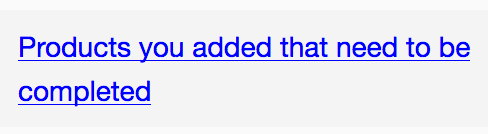

This will display the list of products you added when logged in. Go click on the product you want to complete.
Note: the list of Products you added that need to be completed is displayed only if you are logged in to openfoodfacts.org.
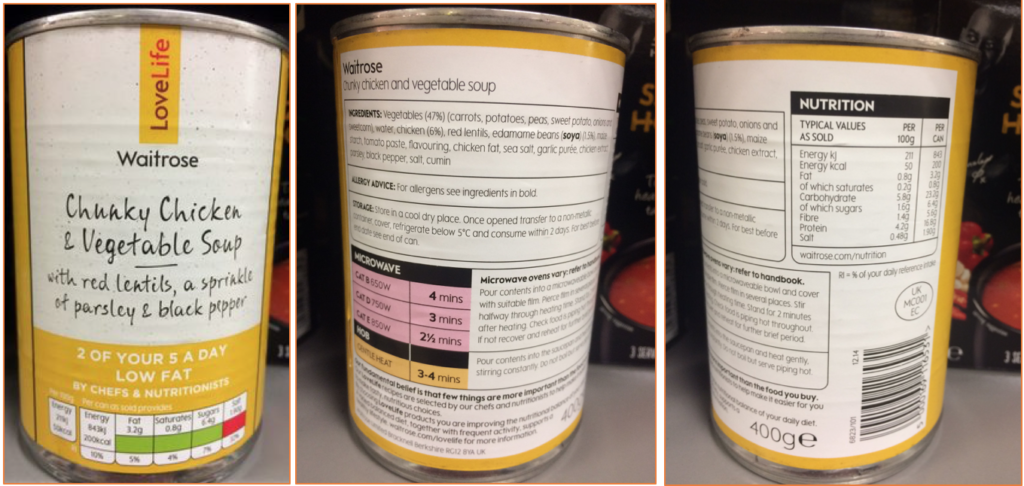
Step 3: Front picture
Select the front picture then, using the mouse cursor, select the area of interest to remove the uninteresting background. For instance:
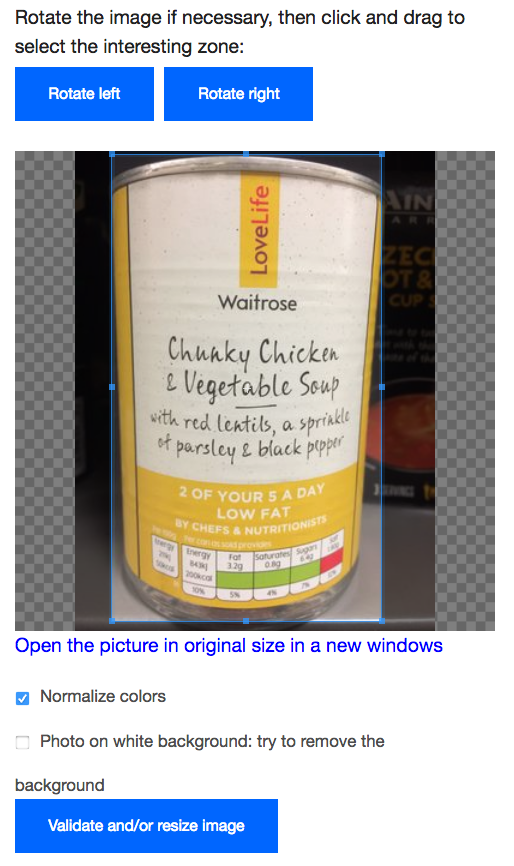

After cropping the picture and clicked on ‘Validate and/or resize image’ button the new front picture will be:
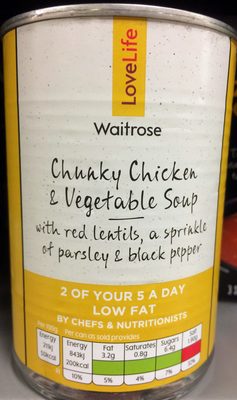

Checking the ‘Normalize colors’ button is usually efficient as it makes the image sharper in most cases.
Step 4: Fill the general information
Fill the information as displayed on the packaging, try to fill as much information as available. For instance:
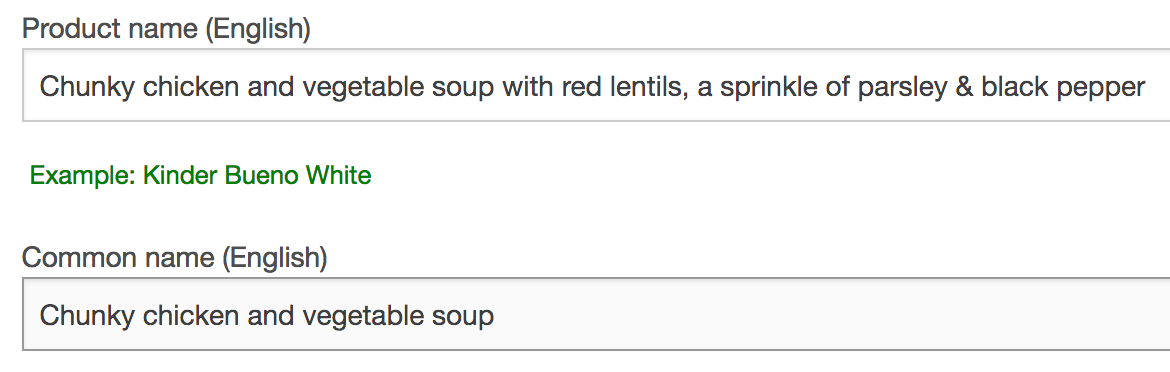

The full name, as displayed on the packaging, was filled.
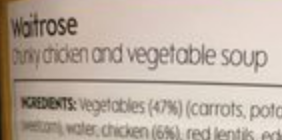
Often the front picture of a product displays a rather commercial name. The common name could usually be found – but not only – before or next to the ingredients.


Do note that some fields are normalised, this is useful to ensure as much consistency across all products.
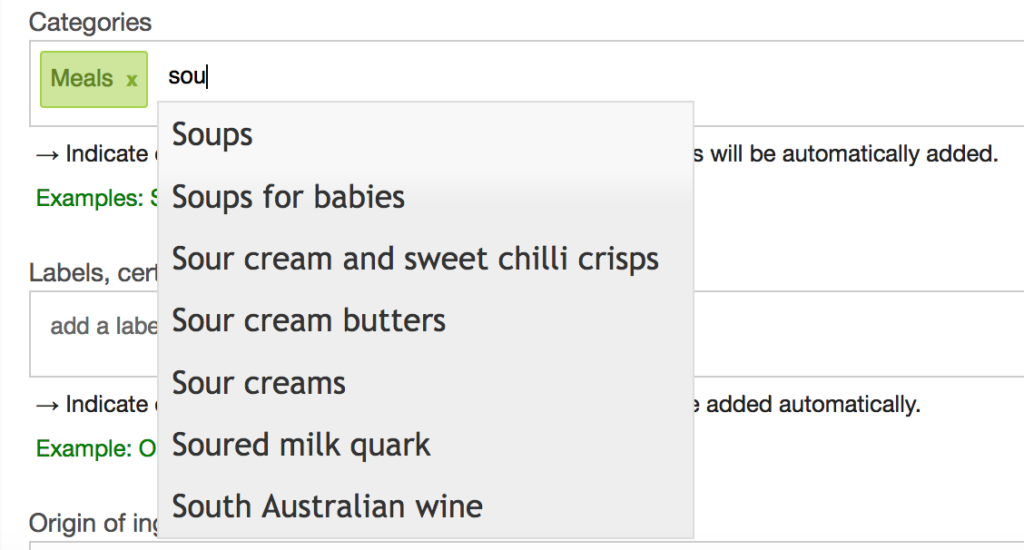

For such fields, start typing words that seem relevant to you and select the most appropriate(s) entry(ies) for the product you are editing.
Step 5: Ingredients
Select the image and crop it to show only the relevant information as you did for Step 3:.
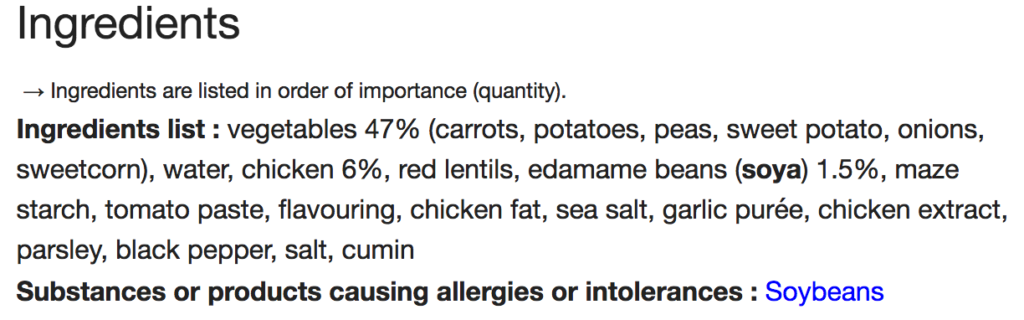
Type all the ingredients as displayed on the package.
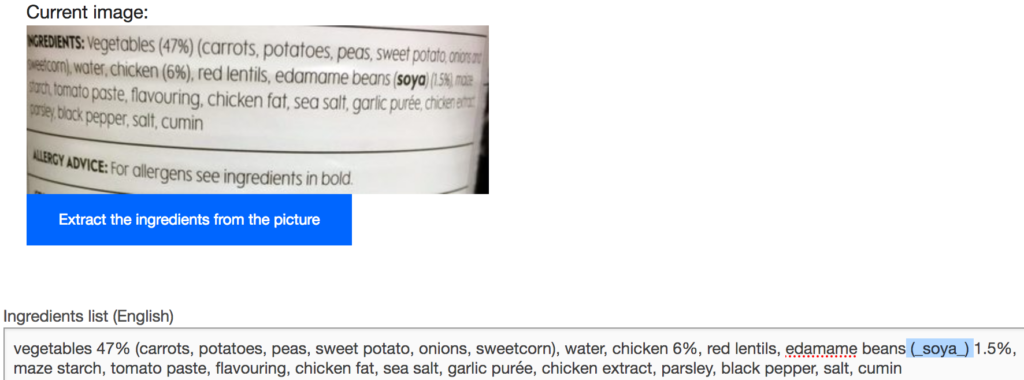

When allergens are highlighted on the product, surround the ingredient with the underscore character as highlighted in the image above. This allows apps, Open Food facts’ one or third parties, to alert users who need such information.

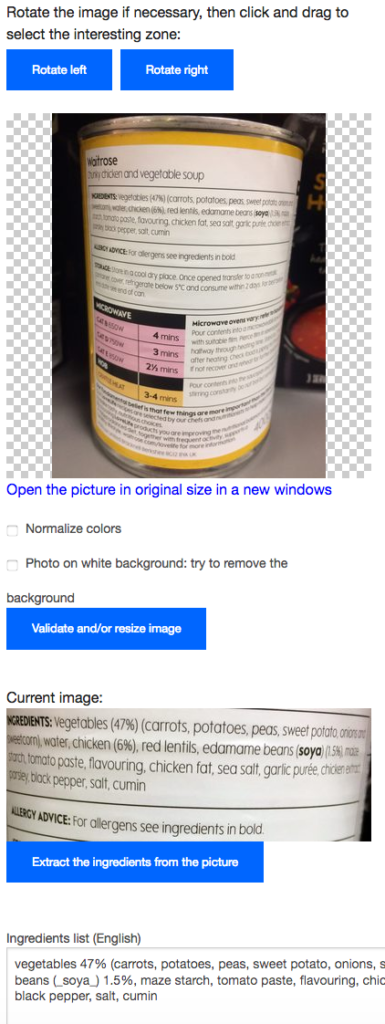
Tip: after saving the Ingredients image, if it doesn’t show above the input text box, but instead it is displayed on the right of the original image, then slightly resize your browser window (make it smaller) until the image is displayed above the input text box. This might make it easier to type the information depending on your screen size and resolution.

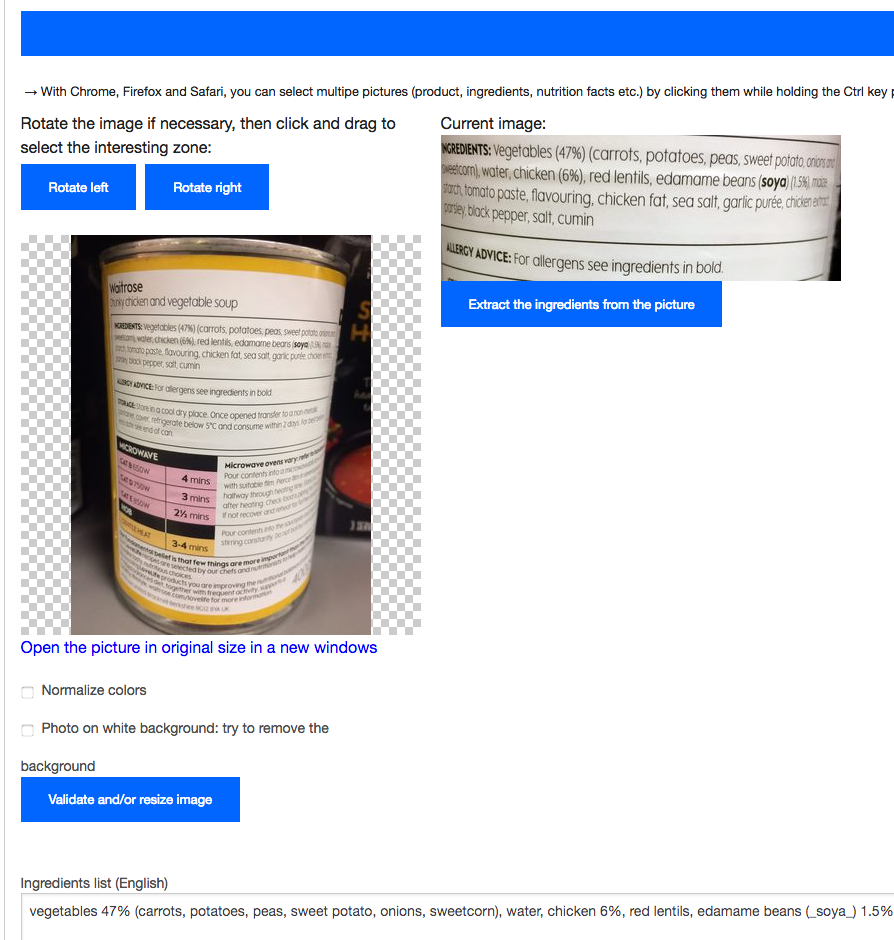
Figure 1 – Ingredients on the right of the image

Step 6: Nutrition facts
If available, type the nutrition facts as displayed on the packaging, otherwise check the ‘Nutrition facts are not specified on the product’ box.
Step 7: Save and review
Once it is all done, click on the save button. You’ll be redirected to a page confirming that the document was correctly saved.

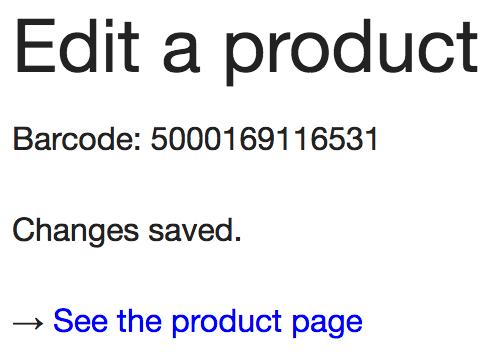
Click on ‘See the product page’ to review the information. If everything looks OK, you are done.
Thanks for contributing!